I am so extremely honored to have been asked to be the Guest STAR for the month of October for Dawn Olchefske and her DOStampinSTARS. I will be designing and posting a card or a project every Saturday for the month of October with the theme of Autumn or Halloween, and I will call this My Autumn/Halloween Series . My designs will be posting first on the STARS Facebook Page for Dawn Olchefske and her STARS every Saturday thru the month of October and I will then be posting that same card or project to my blog the next day which will be every Sunday for month of October for all my viewers. (The STARS must get to see the card and directions first before it goes public). Today's card is the first card that I designed for my Autumn/Halloween Card Series, and it is made from an everyday Decorative Paper Napkin...can you believe it? No really, I'm not kidding, I made this by transferring a paper napkin to the front of the cardbase. It is really hard to see just how beautiful this card really is from the photos below, as you really cannot see all the glitter and glimmer that was heat embossed onto the face of the card. (I am looking for a new camera, LOL) I put the Step-by-Step Instructions for you below so you will be able to make the card. I am in the process of making a "Wow, That's Cool" YouTube Video on how to make a Napkin Transfer Card. Hopefully I will finish it this week for you. I really hope you'll enjoy My Autumn/Halloween Card Series for October and will check back all through the month of October to see the other 3 projects or cards too. I would love to hear your comments, Until next time, God Bless!
CLICK HERE to View YouTube Video
Product List
Decorative Napkins Pkg.(15-11/16 x 11-3/4”)
I got 6 cards from 1 napkin (You can find in any store that carries napkins)
Step by Step Directions
1. Iron the wrinkles out of napkin using cotton and linen
iron setting on back side of napkin, then peel away the layers of the napkin
until only picture layer remains.
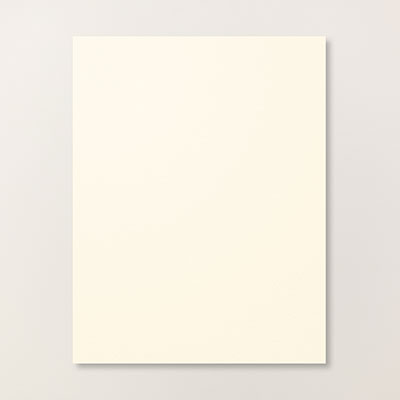
2. Cut a piece of Very Vanilla CS cut @ 3-1/2” x 6-3/4
3. Cut a piece of Adhesive Sheet paper larger than Very
Vanilla CS (approx. 3-3/4” x 7”). On the Adhesive Sheet paper peel off the Sizzix lettered printed
side (the sticky side) and put onto the Very
Vanilla CS cut that was cut @ 3-1/2”
x 6-3/4”
4. Peel off the
opposite side and attach to the backside
of the napkin, making sure you center the picture on the napkin the way you
want it to appear. With snips trim up to the edge of the Very Vanilla CS piece so edges are clean and flush, (no adhesive
paper remaining on edges).
5. Cover complete surface of the napkin face with VersaMark Ink
6. Cover complete surface with Heat n Stick Powder
7. Use Heat Tool
to set until surface is glossy & clear looking, be careful not to burn it.
8. Sprinkle Iridescent
Ice Powder all over front of the heated Heat n Stick Powder.
9. Set with Heat Tool
10. Cut Espresso
Brown CS @ 3-3/4” x 7”
11. Cut Old Olive
CS @ 3-3/78” x 7-1/8”
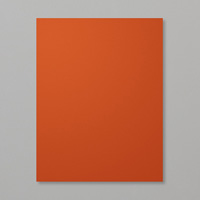
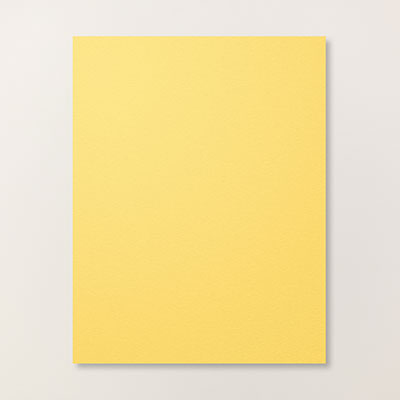
12. Cut Daffodil
Delight CS@ 4” x 7-1/4”.
13. Cut Cajun Craze
@ 8-1/2” x 7-1/2” score @ 4-1/4” on
the 8-1/2” side. This will be your card base.
14. Use Dimensionals
to attach to the base of card.
15. Attach Old
Olive (Brights Collection) Candy
Dots to face of card at bottom
16. For inside of card cut Very Vanilla CS @ 4” x
7-1/4” and stamp sentiment with For
All Things Stamp Set using Cajun
Craze Ink
17. For a 4-1/2
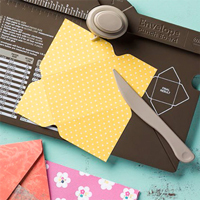
x 7-1/2” envelope cut paper @ 9-3/4” x 9-3/4”, punch and score @ 3-3/4”
18. For insert cut Cajun
Craze CS @ 5-3/4” x 5-3/4”, punch 2 opposite edges with right side of blade
in Envelope Punch Board, round top
of top of insert. Stamp with Cajun Craze Ink and Papillon Potpourri Butterfly Stamp Set.
19. Stamp Left front of envelope with butterflies also
with Cajun Craze Ink
Thank you so much for viewing my cards and for taking the time to leave me your comments! I read all of them, and I sincerely appreciate all of them!
If you would like to automatically get my blog posts by email all you have to do is enter your email address in the upper right hand corner of my blog where it says "follow me by email" then you'll never miss a a card or project again.
You can purchase supplies for this card and all my projects on my online Stampin' Up! Website by clicking the Shop 24/7 link below.
.jpg)
.jpg)




WOW! Who would have thought to use napkins for a magnificent card! You are amazing, Sharon.
ReplyDeleteCarol, you are a doll! You have no idea how much your comments mean to me. They are always so up-lifting for me to read. Thank you for taking time to leave the comments and thank you so much for always being such a faithful client! God Bless You!
DeleteWow! Your card is stunningly beautiful! Thanks so very much for sharing the technique with us! Can't wait to see the video!
ReplyDeleteHi Cherie, Thank you very much for your lovely comment! I treasure my viewers comments, they keep me going...God Bless!
Delete