If you have been following my blog, you know that I was asked to be a Guest STAR for the month of October for Dawn Olchefske and her DOStampinSTARS and some of these card posts are for that Guest Star postings. In case you are new to my blog, In addition to my regular postings, I will be designing and posting a card or a project every Saturday for the month of October with the theme of Autumn or Halloween, and I am calling this My Autumn/Halloween Series . Today's card is the second card that I designed for my Autumn/Halloween Card Series, it is My Truly Grateful Card, and yes...it was made with the Truly Grateful Stamp Set. The complete supply list is listed below along with detailed instructions on how to make the card. I would really love to hear your from you and your comments, as always have a safe day and God Bless!
Product List
- 8-1/2” x 5-1/2” score @ 4-1/4”
- 3-3/4” x 5” - Layer 2 (see note directions below for making the Custom Cardstock Layer)
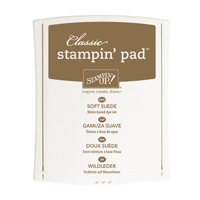
- Use #3 Banner Framelit Die (counting out from the middle) to cut out width of banner. Do not cut the full length as you want to make the banner 3-1/2" long. Ink edges with Soft Suede Ink.
- Use the #4 Circle Framelits – Inked edges with soft suede for the circle placed on top of the banner.
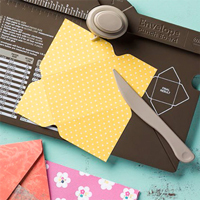
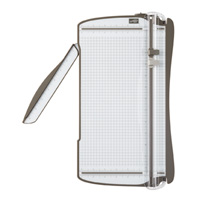
- 8” x 8” for envelope (punch & score @ 3-1/2" on Envelope Score Board)
Soft Suede - (Layer 1)
- 4-x 5-1/4”
- Use #4 Banner Framelit Die (counting out from the middle) to cut out width of banner. Do not cut the full length as you want to make the banner 4" long. Ink edges with Soft Suede Ink.
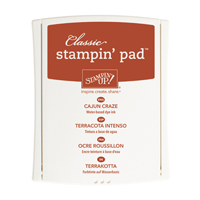
Cajun Craze CS -
- Use the #2 WIndows Framelits, pierce around edges with piercing matt and matching piercing pack. Ink the edges with Soft Suede Ink. Pop onto card with a Dimensional.
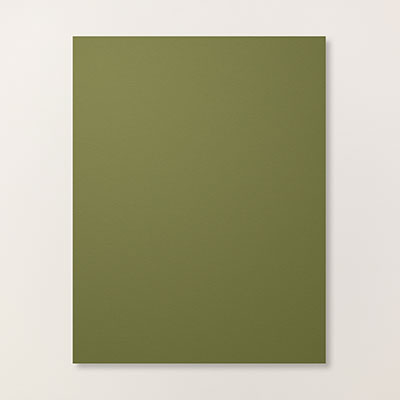
Mossy Meadow CS -
·
Autumn
Accents Bigz Die - Cut 2 leaves out
Directions:
1. Cut out and construct base and layer 1
2. For layer 2 custom cardstock papers cut as above then (follow Layer 2 special note for making Custom Cardstock Below:
NOTE: Layer 2 Note Directions
for making Custom Cardstock
After cutting the 3-3/4” x 5” Very Vanilla CS, stamp randomly with
Truly Grateful Images, stamp images as below:
·
Wood
Image– Soft Suede
·
Wheat
Image - So Saffron and Cajun Craze inks
·
Wood
Circle Image – Baked Brown Sugar
·
Acorns
– Soft Suede making your own DS cardstock background
4. Attach the Banners, Window Framelits and Circle pieces as explained above.
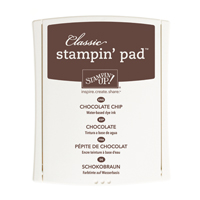
5. The "Thank You" was stamped with Chocolate Chip Ink on Scrap Very Vanilla CS and hand cut the banner out to be 1/2" wide and 2' long, sponging edges witht the Chocolate Chip Ink. Then pop with a dimensional onto the circle.
6. I colored the Autumn Wood Emblellishments with the ink on the sponge with chocolate chip ink and tied them with linen thread and attached under the Thank You Banner with a small glue dot.
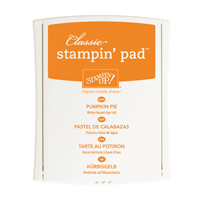
7. The two leaves were cut out with Autumn Accents Bigz Die and Mossy Meadow CS, I broke the fibers in paper by using the bone folder to try to curl it a little and bend a little and then Inked the edges with Pumpkin Pie Ink. Thank you so much for viewing my cards and for taking the time to leave me your comments! I read all of them, and I sincerely appreciate all of them!
If you would like to automatically get my blog posts by email all you have to do is enter your email address in the upper right hand corner of my blog where it says "follow me by email" then you'll never miss a a card or project again.
You can purchase supplies for this card and all my projects on my online Stampin' Up! Website by clicking the Shop 24/7 link below.
.jpg)









wow, your cards are gorgeous! I particularly love this one--the mossy meadow sponged leaves look SO real! TFS!!
ReplyDeleteHi Sharon, Sounds like maybe you are new to my blog...If so welcome! Glad you found me! Hope you'll follow me by email, and also check out my YouTube Channel and follow that too. And of course check out my Business Facebook Page and give it a "Like Page" too.Thanks for taking time to leave such a beautiful comment. Hope to hear more from you!
Delete