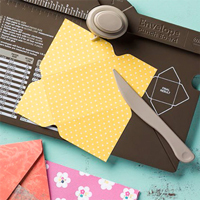
I have my DSC#102 DOStampers Thursday Challenge Hello There Mason Jar Card for you. I really found it hard this week to create something working around these three colors. But I did come up with something. I made both the little Mason Jar on the front of the card and the custom envelope using my Stampin Up Envelope Punch Board. Actually only took 2 simple punches and a few snips and the jar was made. I used the Hello There Stamp Set for the sentiment on the jar. The directions are listed below for you, and if you jump back over to my blog in a few days, I will have the "WOW, That's Cool" YouTube Video posted for you on exactly how I made it. Love to hear your comments on the card as always. Until next time, God Bless!
Cutting & Assemble Directions:
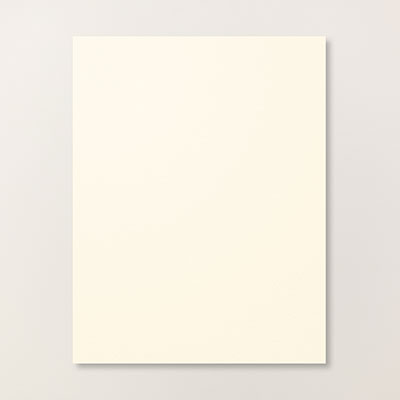
Very Vanilla CS
·
8-1/2” x 5-1/2” and score @ 4-1-4”
for card base
·
8” x 8” for envelope - punch and
score @ 3-1/2" mark
·
(2) pieces 1” x 4”, punch long
edge with scallop edge punch , them trim to 5/8" x 1/2"
·
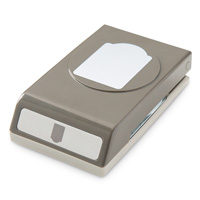
(1) Note Tag Punch sponge edges with Blackberry Bliss Ink
·
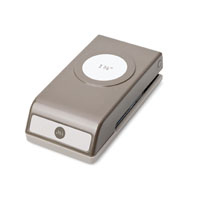
scrap paper for stamping "For You" and punch out with
1-3/8" circle punch
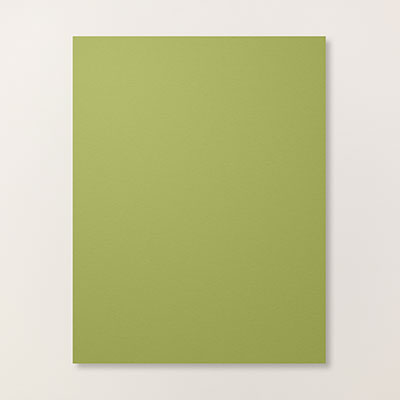
Old Olive CS
·
4” x 5-1/4” for layer 1 (Island
Indigo color paper)
Festival of Prints Designer Series Paper Stack
·
3” x 4” for jar
·
5/8” x 2-1/4” for lid
·
4-1/4” x 4-1/4” for envelope liner
Moonlight CS
·
5/8” x 2-1/4” for lid
- Cut CS as above instructions.
- Attach the Old Olive Layer 1 on base.
- Attach the small scallop pieces to the top an the bottom of the 4” x 5-1/4” for layer 1 (Island Indigo CS) and attach to the top of layer 1 Old Olive CS.
- Using the 3” x 4” cardstock from Festival Of Prints Designer Series Paper Stack, lay on the Envelope Punch Board with 4” side along top horizontal punch area, line up edge of left side of paper with the “plastic score line marker” (plastic pointer piece that sticks out of the punch board), punch, flip paper and then punch once again on top of jar. Round bottom corners of the jar then cut off the 2 points on top of jar.
- Round the 2 top edges of the lids from the Festival of Prints Designer Series Paper Stack you cut from above and lay on top of the lid piece from Moonlight CS, letting only a small portion of the Blackberry CS show. Attach to top of the jar. Wrap Jute around top of the jar. Attach the jar to the Island Indigo CS using dimensionals.
- Attach the "For You" to the Note Tag Punch with dimensional and put a dimensional to back of the Note Tag Punch and attch to the jar.
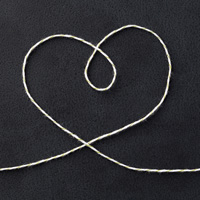
- Wrap Old Olive BakersTwine on side of card.
- See envelope instructions above, for liner punch at 4-1/8" flip and punch 90 degrees on other side.
- Attach Rhinestone to sentiment.
Product List
Check out more "Color" inspiration from my fellow DOstamperSTARS (click on their links below):
Thank you so much for viewing my cards and for taking the time to leave me your comments! I read all of them, and I sincerely appreciate all of them!
- Cindy Techlin: Another Thank You card
- Dawn Olchefske: Bordering Blossoms card
- Judy Stricking: Garden Party card
- Robyn Rasset: Sassy Salutations card
- Angela O'Neill: Nuts about You card
- Miriam Bollinger: Park Lane card
- Laurie Zoellmer: For All Things card
- Linda Kaufman: Bordering Blooms card
If you would like to automatically get my blog posts by email all you have to do is enter your email address in the upper right hand corner of my blog where it says "follow me by email" then you'll never miss a a card or project again.
You can purchase supplies for this card and all my projects on my online Stampin' Up! Website by clicking the Shop 24/7 link below.
.jpg)






This is a cute and CLEVER card Sharon!!! TFS!!!!
ReplyDeleteThanks Linda! I really hate the Raspberry on the card, but that was what the colors were to work with. So not much choice there. LOL😃😃😃 Thanks for leaving a comment. Appreciate it.
Delete